The Design Process page details steps involved in “design thinking”—a process of framing problems, iterating solutions, and testing. That page is a 30,000-foot view of design.
But what is the 10-centimeter view of designing? What’s it really like?
I developed the stages below for interaction design—when building websites and apps—but it also applies when creating communication and experience design outcomes.
Stage One: Dream What “Should Be”
When we design, we create interventions that change a current situation (Simon, 1996). You are designing because right now, things aren’t how they should be and you want to change them. A few examples:

- I like birds. They make me happy. We need to make something so birds will feel at home in our back yard so we can see them. I want my back yard filled with wild birds all year.
- I can’t see the road when I drive at night. Maybe the car headlights need different bulbs. I want to be able to see everything when I drive at night. What can we do so I can see the road when I drive?
- Children don’t come to the community center after school. I wish they could come because it would develop their social skills and they would have a place where they would feel loved. We need to do something so kids will come to the center. We want at least 40 kids from middle and high school to spend at least 4 hours at the center every week.
See how each of those phrases included an “ideal future” where things would be different because we designed something? In stage one, decide what “success” would look like for your project. Set a point on the horizon you are trying to reach.
Stage Two: Contain the Problem

What are you trying to accomplish? What’s the “problem” you’re trying to solve? This step involves defining the actual “problem” you will be “fixing” with design. Steps include:
- Identify the “need” in detail
- Develop an answerable problem statement
The problem statement should include two parts: the problem and the ideal outcome. For example:
Problem: Design professors at Miami University give dull lectures when they do not eat enough Corn Flakes for breakfast, which leads to sleeping students.
Outcome: Design professors at Miami will eat more Corn Flakes.
These statements don’t have to be fancy, they just have to be clear, with defined “success” measures. Containing the problem sets constraints. It clearly defines who and what is involved in your project. Create very specific statements during this phase. This process will help you set the project’s constraints.
Set Constraints
Start with a goal the design is intended to accomplish. Identify the people, materials (designed things), and environments it involves.
Once you have set constraints, you can move on to research, which should confirm some of your hunches but it may also challenge some of them.
Stage Three: Research

You need to learn all you can about this problem. There are likely more moving parts to it than you can expect. Dig into it. Who are the people involved? Where does it happen/take place? What technologies does it involve? What are peoples’ attitudes about the problem?
- Research the content area to gain a general familiarity—field research and “book research” (secondary research) are helpful
- Define and research key areas of interest to gain specific knowledge about the phenomena/client/problem
- Write a statement that describes what kind of solution you will create (an app, a service, a brochure, etc.) and what purpose it will serve
- Create a persona that embodies your user population
- Reality check: determine if the problem is solvable and to what degree now that you know more
- If your reality check reveals the problem is not solvable, go back to stage one
Stage Four: Gather Content (Low-Fidelity Design)

Now it’s time to start bringing together assets that will comprise your design. These can include images, written content, videos, building materials, etc. Designing at this level is low-fi and basic, but defined enough so you can start to see glimpses of the final product. Style boards and other methods are helpful during this stage.
- conduct a content needs inventory
- What do you know? What do you need to know? What content (words, images, sounds, materials, other collaborators, etc.) do you need to collect/engage?
- write and collect raw content like images, source sounds, materials
- create a style board to define the general look and feel/communication of the design direction
- this will make your design more “real” so you can make informed decisions on the next steps, like what materials you will need or if a typeface needs to be researched
- reality check: determine if the problem is solvable and to what degree now that you know the look and feel of the design
- if the reality check means you must go back to stage two or earlier, do it
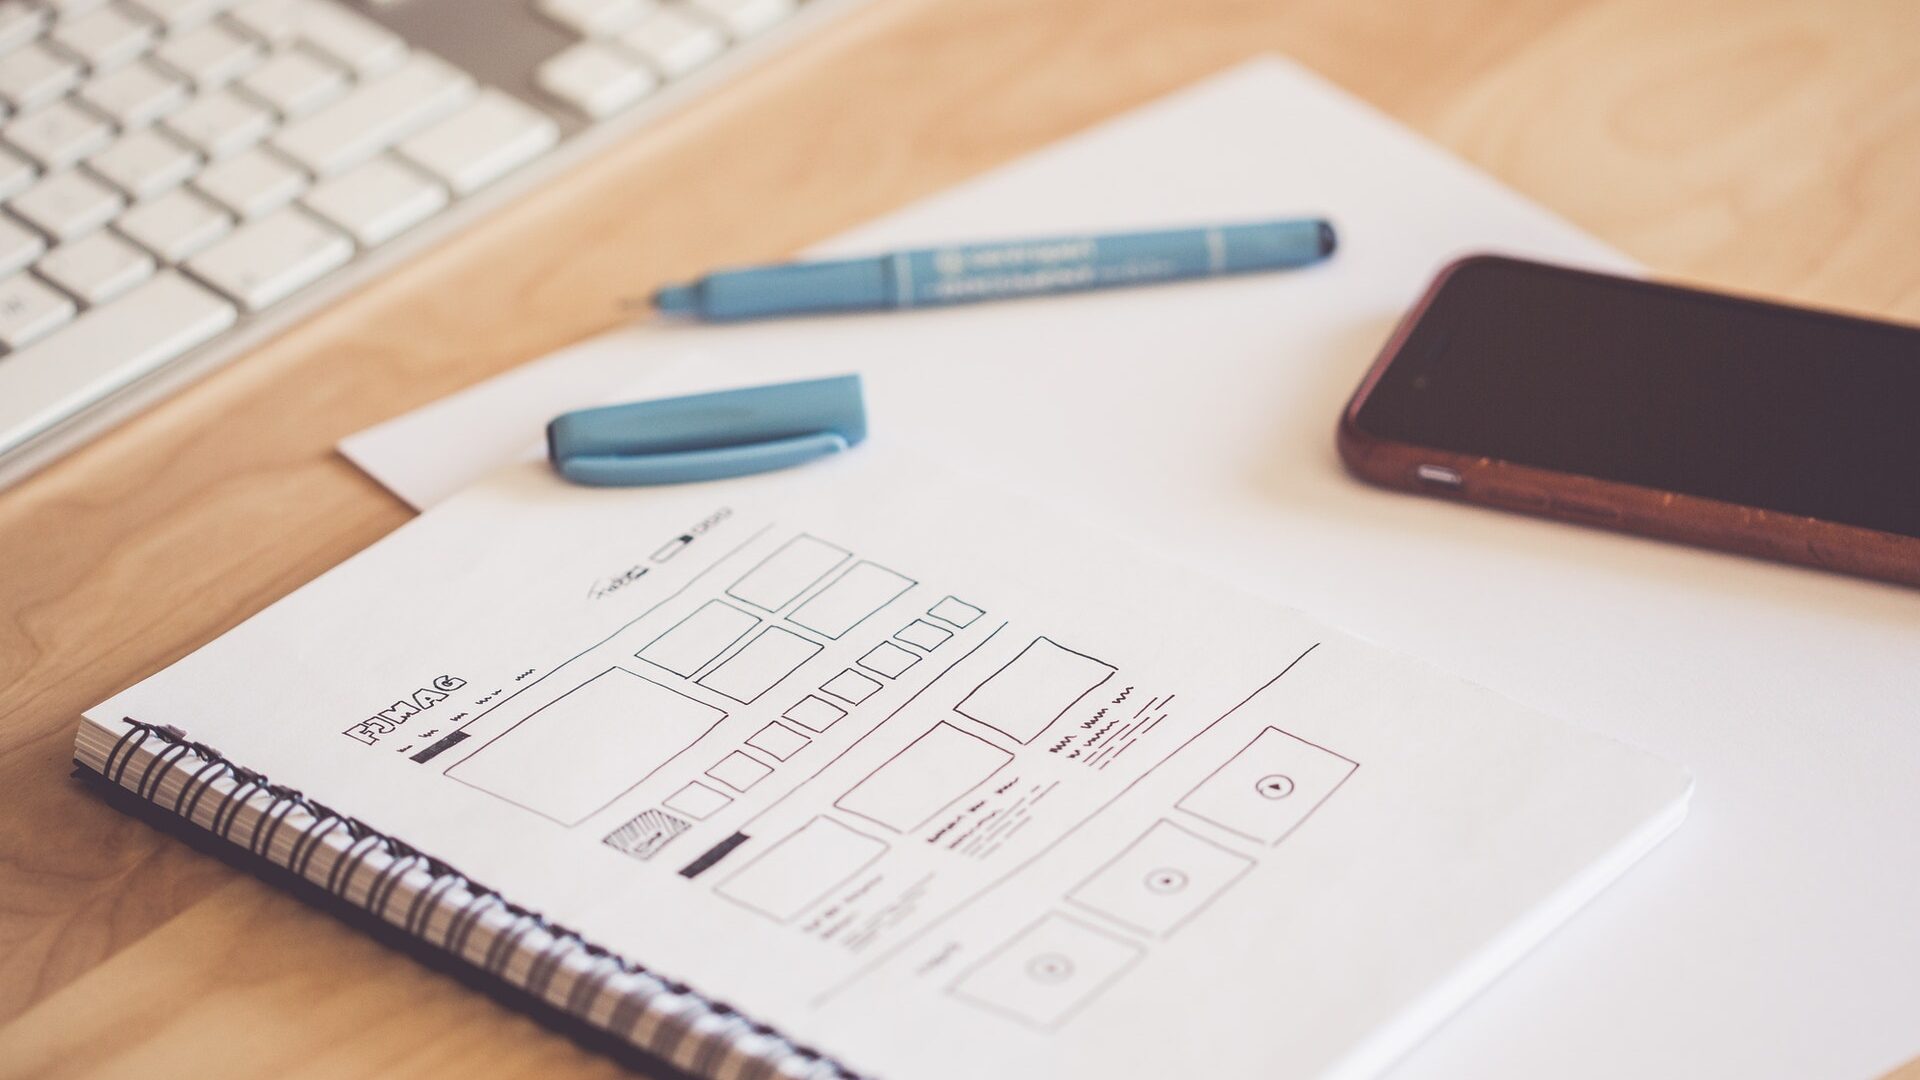
Stage Five: Structural Design (Low-Fidelity Design)
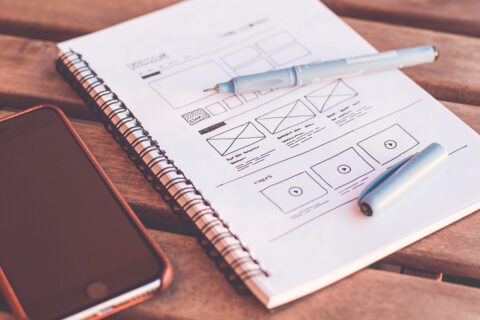
This “low-fi” level prototype design stage will bring assets together that were collected in stage three. By the end of this stage, you should have a polished wireframe/sketch/mockup that proves your design’s potential. This step is all about structure—where content goes and where/how it is implemented. Iterate wildly—create many different versions. Test your ideas here and expand the design in many different directions. User flow maps, service blueprints, and other mapping methods are helpful during this stage.
- write/map content structures
- this could be a hierarchy study, a site map, etc.
- develop thumbnail sketches
- this may be storyboards, full and mobile site versions, etc.
- develop wireframes
- this may be storyboards, full and mobile site versions, etc.
- design a polished mapping
- this may be an Illustrator grid/content area mapping, a rough model of a physical space, etc.
- reality check: determine if the problem is solvable and to what degree based on your design direction
- go back to a previous stage or re-do this stage if your design is not meeting objectives or something seems “off”
Create and Iterate
Once you establish constraints, start creating. Make sketches, mappings, prototypes, and other things that make the design real. Then make small adjustments to your design—changing only one or two things. Evaluate the design as it evolves. Sometimes you may need to “blow up” your design to try a very different direction. Think about your design from a different person’s perspective or try designing with a new location in mind. A restaurant brand designed for New England may change a great deal when applied to the desert Southwest. Question your design and modify until you arrive at something that is successful.
As you develop your design sensibilities you will be able to create more complex, relevant, and innovative outcomes. The process though, is almost always the same!
Stage Six: Detailed Static Design (High-Fidelity Design)

This is the “hi-fi” comp stage. Details are of primary concern. Choose the exact typefaces, line thicknesses, and other detailed aspects. Think at the pixel/centimeter-level during this stage. Your attention to detail will drive every decision you make, guided by the theme board and structural layouts completed in previous stages.
At this stage, don’t worry about designing every web page, every app sequence, every room, every brochure page, or every step of the service. Just design the static ones. This usually means a home page and two interior pages (web design, not coded); a chapter page, title page, and interior spread (publication design, communication design); an exterior and interior room layout for an exhibit (experience design, interior design).
- design fully developed, detailed comps
- this includes typefaces, colors, textures, imagery, lighting, animations, and any other experiential component of the design
- reality check: determine if the problem is solvable and to what degree based on how the design is coming together
- go back to a previous stage if you need to—it’s okay to turn back if it means you will wind up with a much stronger design
During this stage, resist the desire to code everything fully. Just get the static pages/items created, then you can move on to the details and inner workings.
Stage Seven: Implementation Plan

Now it’s time to write a plan for how the design will be executed. It’s time to stop thinking about expanding the design and time to plan how your design will be finalized/fully developed. This stage is more geared to designing websites, apps, complex environmental design, or books and catalogs where many different assets must be managed.
- complete a development plan
- this lays out the steps and schedule for how you plan to go from static design to a working, functioning outcome
- conduct an asset inventory
- determine what images, content, components you’ll need
- create asset setups
- format each asset (image, illustration, body text, etc.) so it can be implemented into your developed solution
Stage Eight: Just Enough Development (High-Fidelity Design)

Spend as little time as possible designing so no time is wasted, but enough time designing so you have a prototype that is testable. During this stage, create a working prototype. Completing this step may involve coding in HTML, CSS, and JavaScript (websites), a working prototype app (done in InVision or Adobe XD), or a physical prototype of a booklet or product design.
8A: Limited Development
- code/build/construct unique items in all their versions
- for websites, this is usually a home and interior page in all responsive states. only build out the main components that are unique
8B: Testing and Refinement
- test the working components
- do this yourself, have strangers test it, use various environments for testing
- refine and troubleshoot components that aren’t working the way they should
- last reality check: determine if the problem is solvable and to what degree
Stage Nine: Full Development (Full, Final Design)

Complete design of the project. Everything you learned in Stage Seven will point to what to do for Stage Eight. This stage is when the final product becomes real. In Interaction Design, this will likely be an app or website. In other types of design, the final outcome may not need to be coded, but “finishing” still applies.
9A: Full Development
- code/build/construct unique items in all their versions
- for websites, this is usually a home and interior page in all responsive states. only build out the main components that are unique
9B: Testing and Refinement
- test every corner of the outcome
- do this yourself, have strangers test it, use various environments for testing
- refine and troubleshoot components that aren’t working the way they should
Stage Ten: Delivery
- flip the switch, go live, present the final, tell the world, wait and watch
- coordinate with client/stakeholders to verify they know how to operate what you designed
- be prepared for things to go wrong once people start using the design, be prepared to fix these issues
Stage Ten (Infinity): You Will Never “Finish”
After the design is launched, testing, refinement, and research begins. You can’t really know how a design works until it’s implemented.